How to Change Hearing Aid Filters: A Step-by-Step Guide
Changing hearing aid filters is a simple yet crucial task for maintaining optimal performance. Learn the easy steps to ensure your hearing aids continue delivering clear, crisp sound. Discover how regular filter changes can enhance your hearing experience and extend the lifespan of your devices.
Hearing aids are valuable devices that require regular care to function at their best. One essential maintenance task is changing the filters. In this guide, we’ll walk you through the step-by-step process to ensure your hearing aids consistently provide the clear and natural sound you rely on.
Why Change Hearing Aid Filters?
Enhancing Sound Quality
Hearing aid filters play a pivotal role in ensuring the quality of the sound you hear. Over time, these filters accumulate dust, debris, and earwax, affecting the device’s performance. Regularly changing the filters maintains optimal sound clarity, preventing distortion and ensuring a seamless hearing experience.
When to Change Hearing Aid Filters:
Signs Your Filters Need Replacement
Reduced Volume or Distorted Sound
If you notice a decline in volume or experience distorted sound, it’s a clear indicator that your hearing aid filters may need replacing. This is often a result of accumulated debris hindering the proper function of the device.
Visible Buildup on Filters
Inspect your filters regularly. If you observe visible buildup, such as earwax or dirt, it’s time for a change. Clean filters contribute to better performance and prevent potential damage to the internal components of your hearing aids.
Step-by-Step Guide: How to Change Hearing Aid Filters
Step 1:
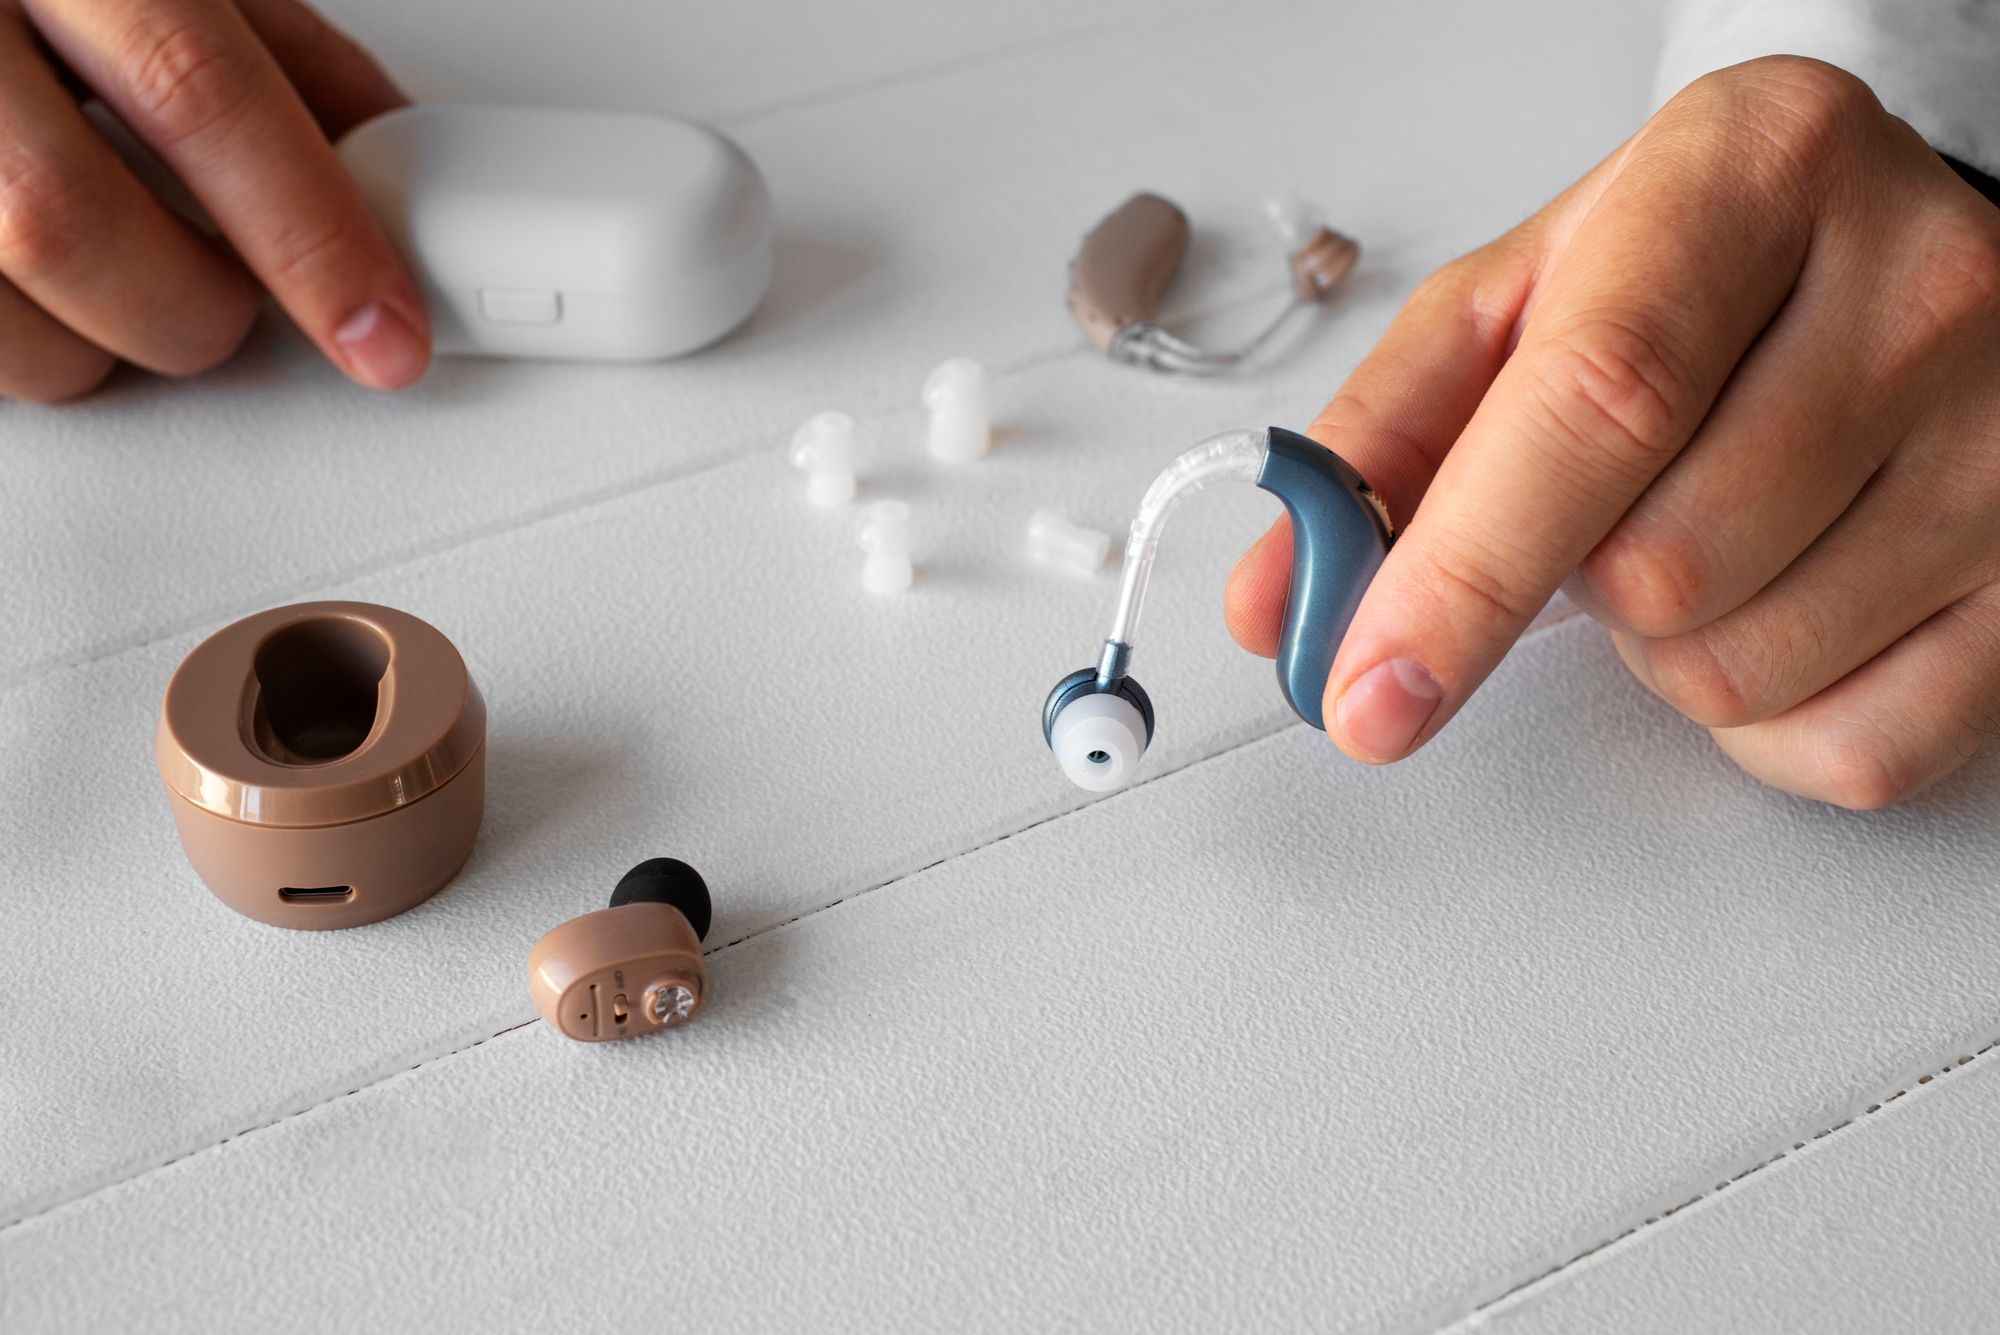
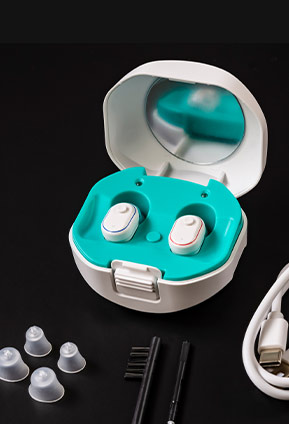
Gather Necessary Supplies Before you begin, make sure you have a clean, well-lit workspace and gather the supplies you’ll need, such as replacement filters and a small cleaning tool.
Step 2:
Power Off Your Hearing Aids To prevent any accidental damage, turn off your hearing aids before attempting to change the filters. This ensures a safe and smooth process.
Step 3:
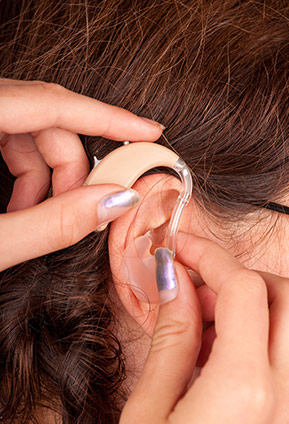
Locate the Filters Identify the location of the filters on your specific hearing aid model. Refer to the manufacturer’s guidelines or user manual if you’re unsure.
Step 4:
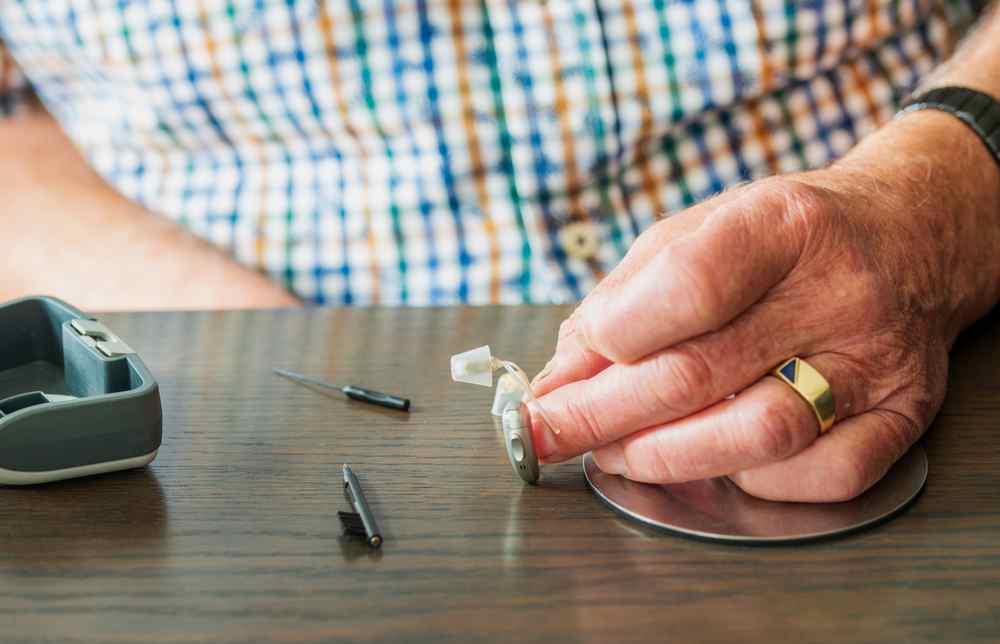
Remove the Old Filters Gently remove the existing filters from your hearing aids. Take care not to force or damage any components during this step.
Step 5:
Clean the Filter Area Use a small cleaning tool to remove any remaining debris or wax from the filter area. Keeping this space clean is crucial for optimal performance.
Step 6:
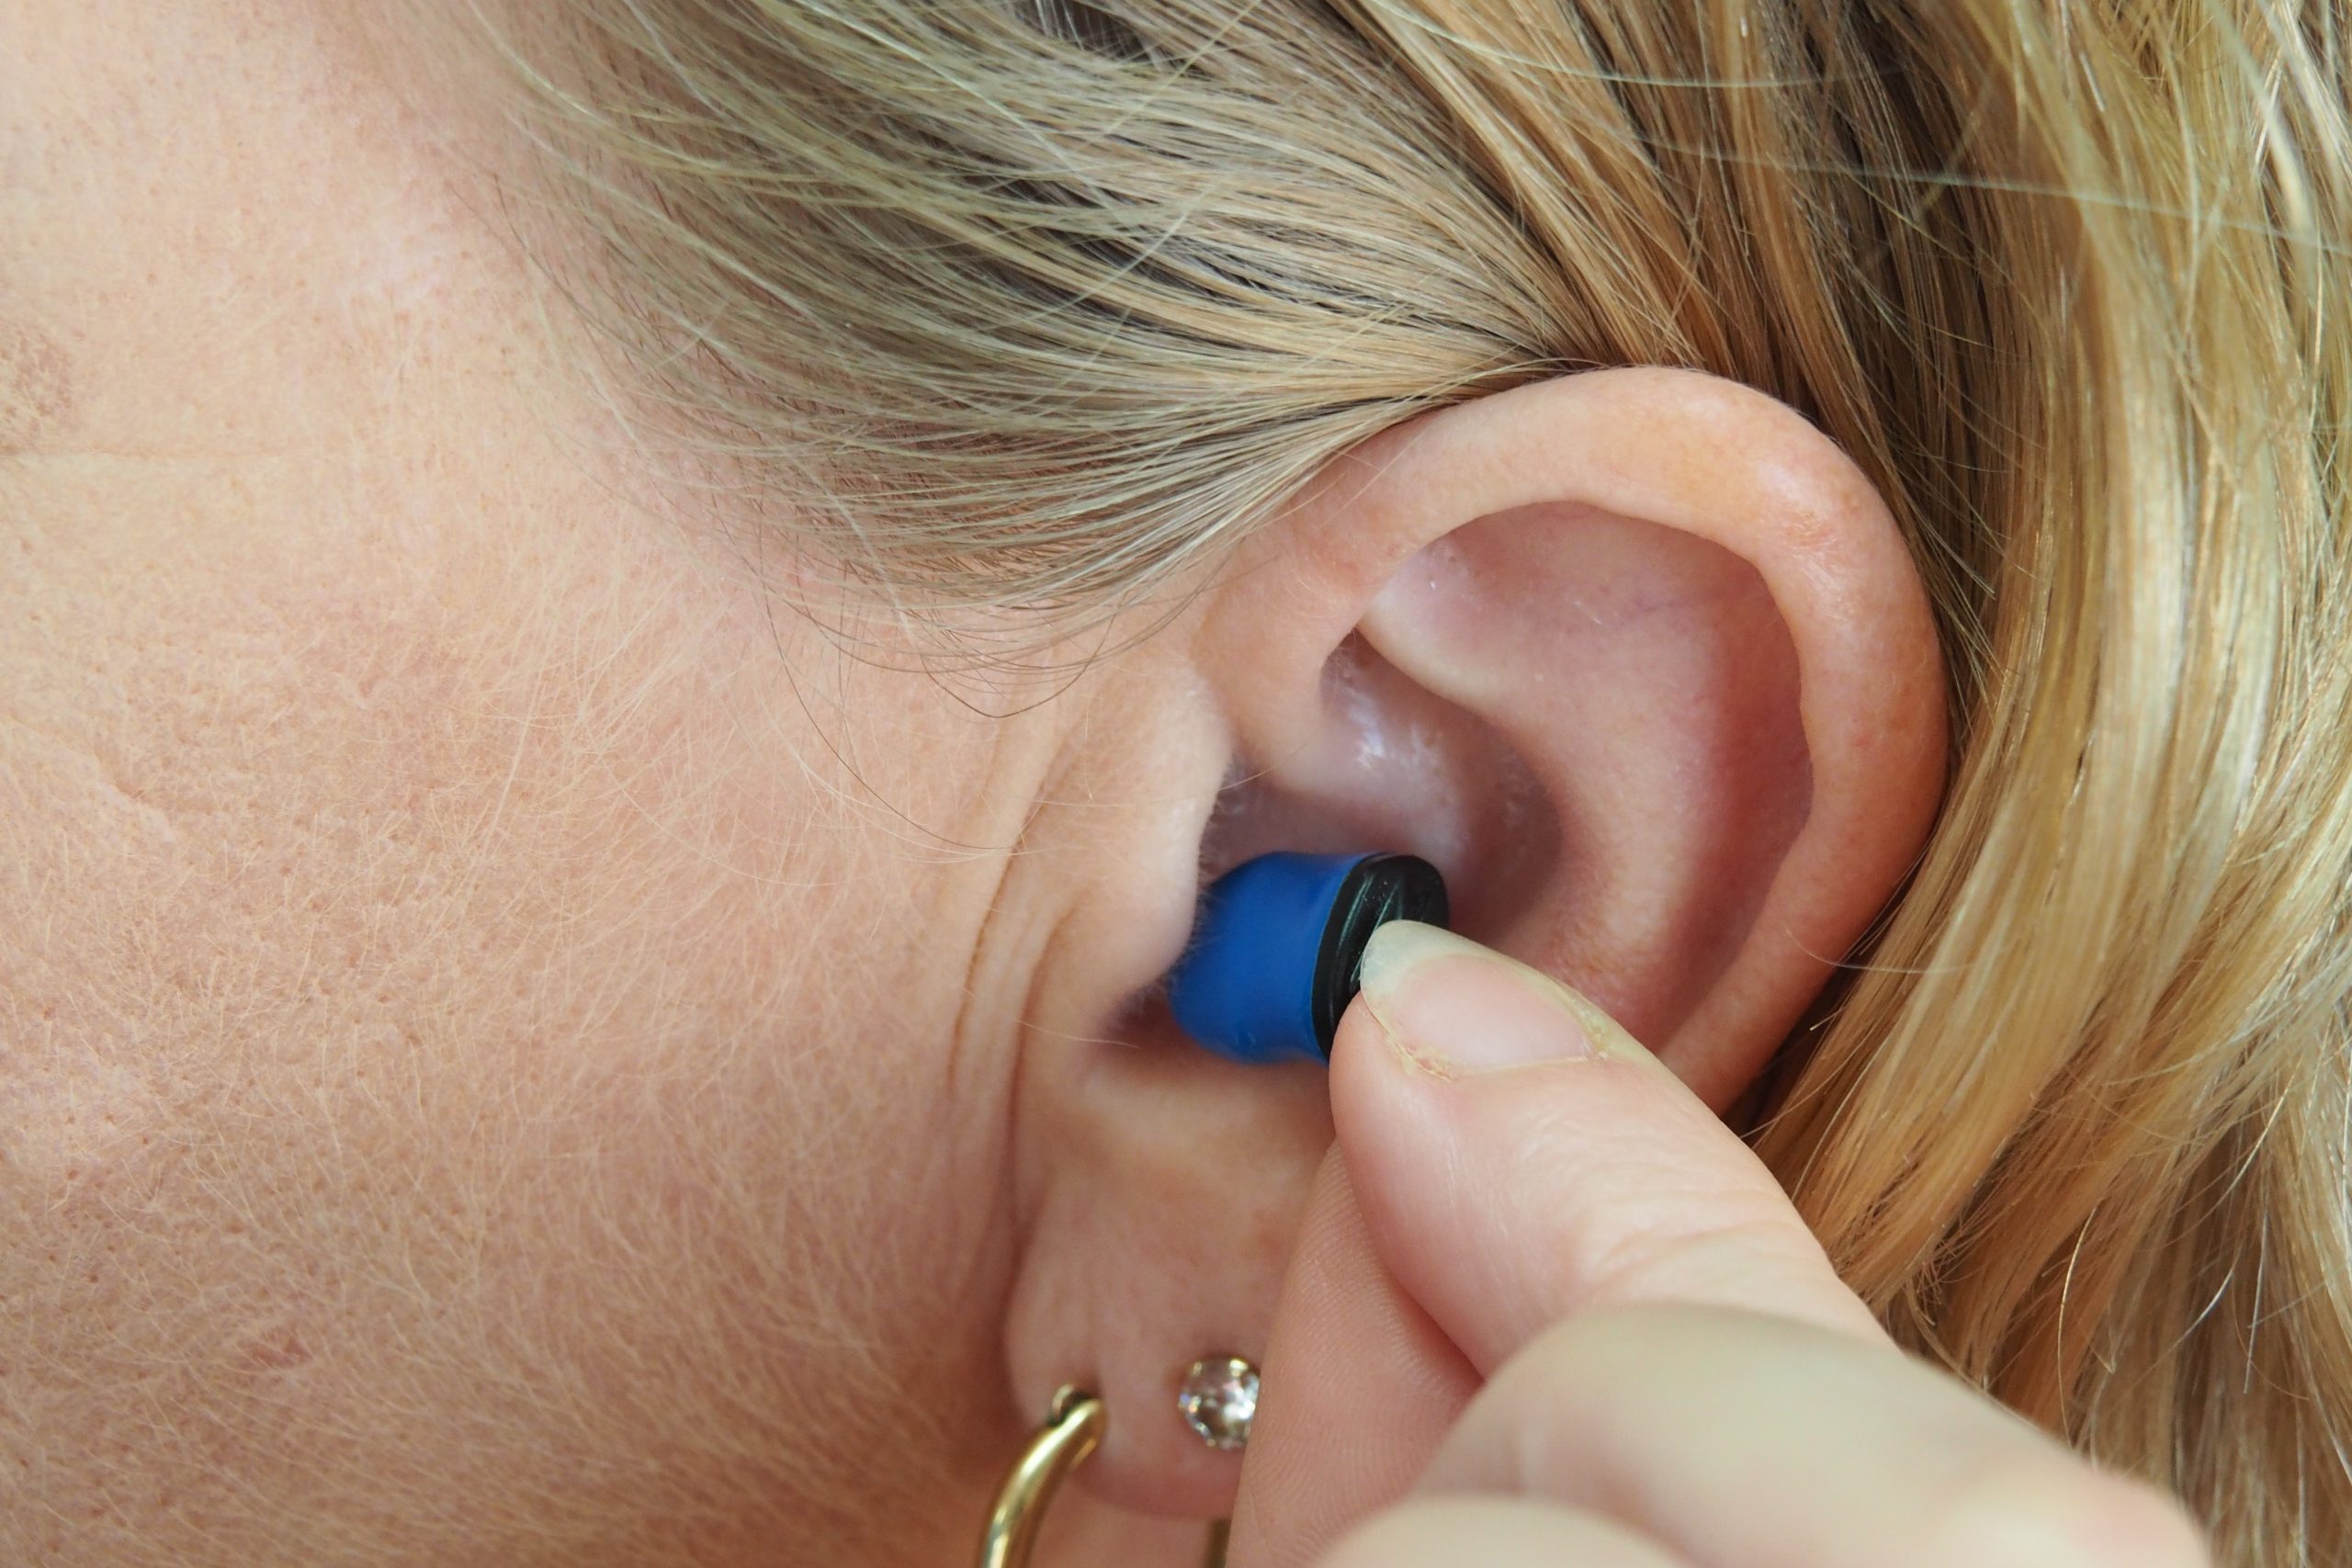
Insert the New Filters Carefully insert the new filters into the designated slots. Ensure they are securely in place to maintain proper functionality.
Step 7:
Power On Your Hearing Aids Once the new filters are in position, power on your hearing aids and test them to ensure the sound quality is restored.
Regularly changing your hearing aid filters is a simple yet impactful way to preserve and enhance your hearing experience. By following these steps, you can maintain optimal sound quality and prolong the life of your valuable devices. Make filter changes a routine part of your hearing aid care to enjoy clear, crisp sound for years to come.
Importance of Regular Maintenance
Regular maintenance, including changing your hearing aid filters, is crucial for the longevity and effectiveness of your devices. Beyond sound quality, clean filters contribute to the overall health of your hearing aids. By preventing the accumulation of debris, you reduce the risk of damage to sensitive internal components. This proactive approach not only ensures optimal performance but also minimizes the need for costly repairs.
Choosing the Right Filters
When selecting replacement filters, it’s essential to choose those recommended by the manufacturer for your specific hearing aid model. Manufacturers often provide detailed information about compatible filters in the user manual or on their website. Using the correct filters guarantees compatibility and maintains the warranty on your devices.
Frequency of Filter Changes
The frequency of filter changes depends on various factors, including the type of hearing aid, your environment, and personal habits. Generally, it’s advisable to check your filters at least once a month. However, individuals in dusty or humid environments may need to inspect and change filters more frequently.
Troubleshooting Tips
If you encounter challenges during the filter-changing process or notice persistent issues with your hearing aids, consult your user manual for troubleshooting tips. In some cases, professional assistance from your audiologist or the device manufacturer may be necessary to address more complex issues.
Final Thoughts
By incorporating the simple task of changing hearing aid filters into your routine, you actively contribute to the longevity and effectiveness of your devices. Consistent care not only ensures optimal performance but also allows you to fully appreciate the benefits of modern hearing aid technology. Invest a few minutes regularly in this maintenance task, and you’ll continue to enjoy the clear, natural sounds that enrich your daily experiences.